Soldering Dual In-line Packages Made Easy

Soldering a dual in-line package is a fundamental skill for anyone passionate about electronics. It allows individuals to assemble and repair circuits with precision, making it an indispensable technique in the field. Beginners often find the process intimidating due to the need for steady hands and attention to detail. However, with practice and proper guidance, even novices can master this art. Starting with simple exercises, such as soldering DIP sockets or resistors, helps build confidence. This skill not only enhances project quality but also opens doors to more complex and rewarding electronic endeavors.
Key Takeaways
Start with simple soldering exercises, like DIP sockets or resistors, to build confidence and skill.
Ensure your workspace is organized and well-ventilated to enhance efficiency and safety during soldering.
Use high-quality tools, including a soldering iron with adjustable temperature, to achieve precise and reliable results.
Inspect solder joints for a shiny, smooth appearance to confirm strong connections; dull joints may indicate issues.
Practice on scrap boards to refine your technique and gain confidence without risking valuable components.
Incorporate flux to improve solder flow and joint quality, especially for intricate soldering tasks.
Regularly verify connections with a multimeter to ensure functionality and identify potential issues early.
Tools and Materials for Soldering Dual In-line Packages
Soldering a dual in-line package requires the right tools and materials to ensure precision and efficiency. A well-prepared workspace equipped with essential and additional items simplifies the process and enhances the quality of the final product.
Essential Tools
Soldering iron
A soldering iron is the cornerstone of any soldering task. Opt for a high-quality model with adjustable temperature control to accommodate various soldering needs. A comfortable grip and interchangeable tips improve usability and precision. For beginners, a soldering iron with a heating element not exceeding 50W is recommended to avoid overheating components.
Solder wire
Solder wire acts as the bonding agent between the component leads and the PCB. Lead-free solder wire is an environmentally friendly option that complies with regulations like RoHS. Ensure the wire has a suitable diameter for the task, as thinner wires provide better control for intricate soldering.
Soldering stand and sponge
A soldering stand holds the soldering iron securely when not in use, preventing accidental burns or damage to the workspace. The accompanying sponge helps clean the soldering tip, ensuring consistent heat transfer and preventing oxidation buildup.
Desoldering pump or wick
Mistakes happen during soldering, making a desoldering pump or wick indispensable. A desoldering pump, also known as a solder sucker, efficiently removes excess solder from joints. For finer adjustments, a desoldering wick absorbs unwanted solder, leaving the joint clean and ready for rework.
Additional Materials
Dual in-line package (DIP) components
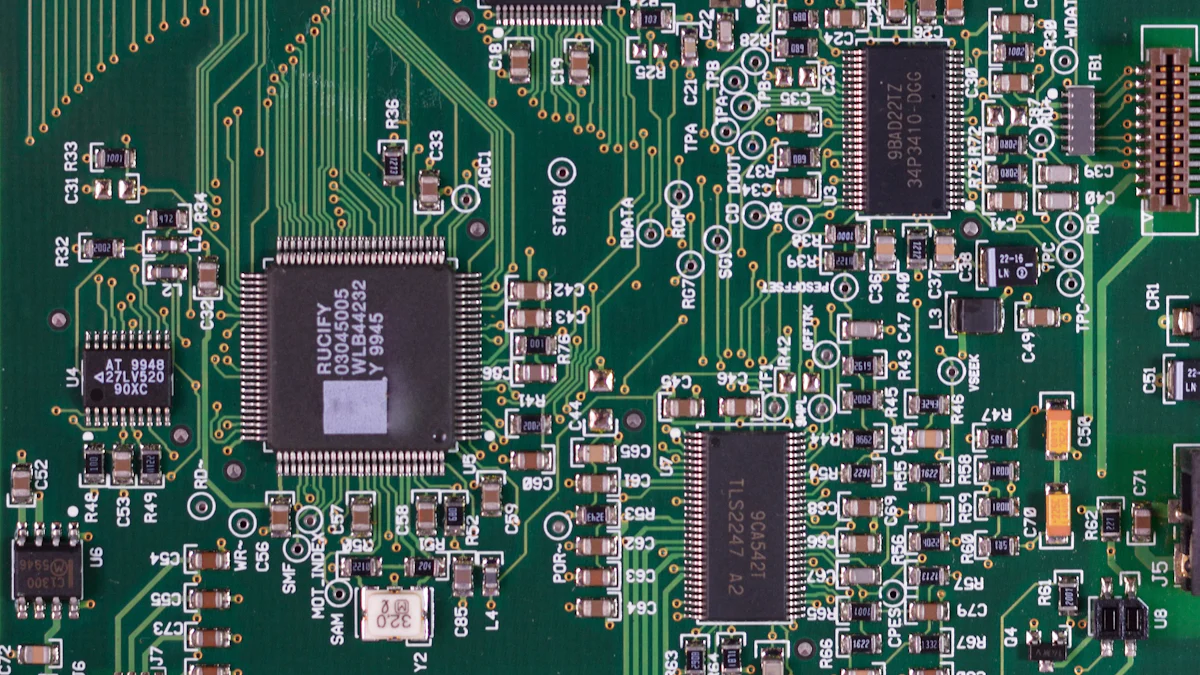
The dual in-line package is the primary component being soldered. These components feature two parallel rows of pins, making them ideal for through-hole soldering on PCBs. Ensure the DIP component matches the specifications of the circuit design.
Printed circuit board (PCB)
A printed circuit board serves as the foundation for the soldering process. It provides the necessary pathways for electrical connections. Clean the PCB thoroughly before soldering to remove dust and oils that may hinder solder adhesion.
Flux (optional but recommended)
Flux improves solder flow and ensures strong connections by removing oxidation from metal surfaces. While optional, using a flux pen simplifies the process and results in cleaner joints. It is especially useful for intricate soldering tasks involving miniature pins.
Magnifying glass or inspection tool
Precision is crucial when soldering small components. A magnifying glass or inspection tool aids in verifying the alignment of pins and the quality of solder joints. These tools help identify issues like solder bridges or cold joints that may compromise the circuit's functionality.
By assembling these tools and materials, anyone can create a well-equipped soldering setup. Investing in quality equipment not only simplifies the process but also ensures reliable and professional results.
Preparing to Solder a Dual In-line Package
Proper preparation is the foundation of successful soldering. Setting up a workspace and preparing the components ensures precision and minimizes errors during the process. This section outlines the essential steps to create an efficient and safe environment for soldering a dual in-line package.
Setting Up Your Workspace
Ensuring proper ventilation
Soldering produces fumes that can be harmful if inhaled over time. A well-ventilated workspace is crucial to ensure safety. Position the workstation near a window or use a fume extractor to remove hazardous particles from the air. Avoid confined spaces, as they can trap fumes and reduce air quality. Maintaining proper ventilation not only protects health but also creates a comfortable environment for extended soldering sessions.
Organizing tools and materials
An organized workspace enhances efficiency and reduces the risk of errors. Arrange tools like the soldering iron, solder wire, and desoldering pump within easy reach. Place additional materials, such as the printed circuit board (PCB) and dual in-line package components, on a clean, flat surface. Use small containers or trays to separate and store items like flux and inspection tools. A clutter-free setup allows for better focus and smoother execution of tasks.
Preparing the PCB and DIP Component
Cleaning the PCB and solder pads
Cleaning the PCB is a critical step that ensures strong solder joints. Dust, oils, and residues can hinder solder adhesion and compromise the reliability of the connection. Use isopropyl alcohol and a lint-free cloth to clean the PCB and solder pads thoroughly. This process removes contaminants and prepares the surface for optimal solder flow. According to studies, the chemistry of soldering materials and residues significantly impacts the performance and reliability of the assembly.
Aligning the DIP component with the PCB holes
Accurate alignment of the dual in-line package component with the PCB holes is essential for a successful soldering process. Carefully insert the pins of the DIP component into the corresponding holes on the PCB. Verify that all pins are properly seated and aligned with the solder pads. Misalignment can lead to poor connections or damage to the component during soldering.
Securing the component in place
Securing the DIP component prevents movement during soldering, ensuring precise and reliable joints. Use adhesive tape or a small clamp to hold the component firmly against the PCB. This step stabilizes the assembly and allows for better control when applying heat and solder. A stable setup reduces the likelihood of errors and improves the overall quality of the soldered connections.
By following these preparatory steps, individuals can create a safe and efficient environment for soldering. Proper cleaning, alignment, and organization lay the groundwork for a successful soldering process, ensuring strong and reliable connections in the final assembly.
Step-by-Step Guide to Soldering Dual In-line Packages
Soldering the DIP Component
Heating the soldering iron
Begin by powering on the soldering iron and setting it to the appropriate temperature, typically between 350°C and 400°C for most soldering tasks. Allow the iron to heat up fully before proceeding. A properly heated soldering iron ensures efficient solder flow and prevents damage to the dual in-line package or the printed circuit board (PCB). Periodically clean the tip of the soldering iron using a damp sponge to remove oxidation and maintain optimal heat transfer. As iFly4rotors, a soldering expert, advises:
"When the iron is hot, wipe both sides of the soldering tip on the sponge. Your goal is to remove old solder from the tip. Try to solder immediately after tinning the tip, the sooner the better."
This practice ensures clean and effective soldering throughout the process.
Applying solder to the first pin
Hold the soldering iron in one hand and the solder wire in the other. Position the tip of the soldering iron so it touches both the pin of the dual in-line package and the corresponding solder pad on the PCB. Introduce the solder wire to the joint, allowing it to melt and flow evenly around the pin and pad. Remove the solder wire first, followed by the soldering iron, to create a smooth and shiny joint. Avoid applying excessive solder, as this can lead to solder bridges between adjacent pins.
Repeating the process for all pins
Continue soldering each pin of the dual in-line package using the same technique. Work methodically, soldering one pin at a time to ensure precision and consistency. Inspect each joint after soldering to confirm proper adhesion and alignment. If necessary, reheat and adjust any joints that appear dull or uneven. Maintaining a steady hand and consistent technique will result in reliable connections and a professional finish.
Cleaning Up After Soldering
Removing excess solder
Excess solder can compromise the functionality of the circuit. Use a desoldering pump or wick to remove unwanted solder from the PCB. Position the desoldering tool over the excess solder, apply heat with the soldering iron, and activate the pump or wick to absorb the solder. This step ensures clean and precise joints, reducing the risk of short circuits or other issues.
Cleaning the PCB with isopropyl alcohol
After completing the soldering process, clean the PCB to remove flux residues and other contaminants. Dampen a lint-free cloth or cotton swab with isopropyl alcohol and gently wipe the soldered areas. This step enhances the appearance of the PCB and ensures optimal electrical performance. A clean PCB reflects attention to detail and professionalism in the soldering process.
By following these steps, individuals can achieve strong and reliable solder joints for dual in-line packages. Proper technique and attention to detail are essential for creating functional and durable electronic assemblies.
Verifying and Troubleshooting Your Work
Ensuring the quality and functionality of soldered connections is a critical step in the soldering process. Verifying and troubleshooting the work guarantees that the dual in-line package performs as intended and prevents potential circuit failures. This section outlines effective methods for inspecting solder joints, testing circuits, and addressing common issues.
Inspecting the Solder Joints
Checking for shiny, smooth joints
A proper solder joint should appear shiny and smooth, indicating a strong and reliable connection. During inspection, examine each joint closely using a magnifying glass or inspection tool. Shiny joints reflect good heat transfer and proper solder flow. Dull or grainy joints may signal insufficient heat or improper soldering technique. Soldering experts emphasize the importance of visual inspection, stating:
"Visual inspection is the first line of defense in identifying soldering defects. It ensures the integrity of the connections and prevents costly rework."
Regular practice and attention to detail improve the ability to identify high-quality joints.
Identifying and fixing cold solder joints
Cold solder joints occur when the solder fails to bond properly with the component lead or PCB pad. These joints often appear dull, uneven, or cracked. To fix a cold joint, reheat the soldering iron and apply it to the joint until the solder flows smoothly. Add a small amount of fresh solder if necessary. This process restores the connection and ensures electrical continuity. Experienced technicians recommend maintaining steady hand movements and consistent heat application to avoid recurring issues.
Testing the Circuit
Using a multimeter to check connections
A multimeter is an essential tool for verifying the electrical connections of a soldered circuit. Set the multimeter to the continuity mode and place the probes on the soldered joints. A continuous beep indicates a proper connection, while silence suggests a break in the circuit. Testing each joint systematically helps identify weak or incomplete connections. Electronic repair technicians highlight the importance of proficiency with diagnostic tools, noting that:
"A multimeter not only confirms the integrity of connections but also saves time by pinpointing faults quickly."
Powering the circuit to ensure functionality
After verifying the connections, power the circuit to test its functionality. Observe the behavior of the circuit components, such as LEDs lighting up or motors running, to confirm proper operation. If the circuit fails to function, revisit the solder joints and inspect for potential issues like solder bridges or misaligned components. Powering the circuit provides a practical assessment of the soldering work and ensures the dual in-line package operates as intended.
Troubleshooting Common Issues
Fixing solder bridges
Solder bridges occur when excess solder creates an unintended connection between adjacent pins. These bridges can cause short circuits and disrupt the functionality of the circuit. To remove a solder bridge, use a desoldering pump or wick to absorb the excess solder. Apply the soldering iron to the bridge and activate the desoldering tool to clean the area. Precision tools and steady hands are crucial for resolving this issue effectively.
Replacing damaged components
Damaged components can result from overheating during soldering or mishandling. To replace a faulty component, desolder the affected pins using a desoldering pump or wick. Carefully remove the component and clean the PCB pads with isopropyl alcohol. Insert a new component, align it properly, and solder it in place. Advanced soldering skills and patience are essential for successful component replacement. Experienced technicians recommend practicing on scrap boards to build confidence and refine rework techniques.
By following these verification and troubleshooting steps, individuals can ensure the reliability and functionality of their soldered circuits. Attention to detail, proper use of tools, and a methodical approach contribute to professional and durable results.
Tips for Successful Soldering of Dual In-line Packages
Mastering the art of soldering a dual in-line package requires attention to detail and a commitment to refining techniques. By avoiding common mistakes and adopting professional tips, individuals can achieve cleaner, more reliable solder joints.
Avoiding Common Mistakes
Overheating the component or PCB
Excessive heat can damage both the dual in-line package and the printed circuit board (PCB). To prevent this, always monitor the temperature of the soldering iron. Use a model with adjustable temperature settings to maintain control. Apply heat only for the necessary duration to melt the solder and form a joint. Prolonged exposure to high temperatures can cause the PCB to delaminate or the component to fail. Practicing on scrap boards helps develop the skill to apply just the right amount of heat.
Using too much or too little solder
Applying the correct amount of solder is crucial for creating strong and functional joints. Too much solder can result in bridges between adjacent pins, leading to short circuits. On the other hand, insufficient solder may cause weak connections that fail under stress. A good rule of thumb is to use enough solder to cover the pin and pad without spilling over. Beginners often benefit from observing experienced technicians or watching instructional videos to understand the ideal solder quantity.
Pro Tips for Better Results
Practicing on scrap boards
Practicing on discarded or non-functional circuit boards builds confidence and hones soldering skills. One individual shared how they started by experimenting on broken devices, learning through trial and error. This approach allows individuals to make mistakes without fear of damaging valuable components. Over time, practice improves hand-eye coordination and enhances the ability to create precise solder joints. Regular practice also helps identify personal weaknesses, such as shaky hands or inconsistent heat application, which can then be addressed.
Using flux for cleaner joints
Flux plays a vital role in ensuring clean and reliable solder joints. It removes oxidation from metal surfaces, allowing solder to flow smoothly and bond effectively. While optional, flux significantly improves the quality of connections, especially when working with intricate components. A flux pen offers convenience and precision, making it easier to apply the substance exactly where needed. Professionals often emphasize the importance of using flux, noting that it reduces the likelihood of cold solder joints and enhances the overall appearance of the PCB.
"Tracking common errors and sharing solutions during team meetings has proven invaluable in reducing mistakes and improving outcomes," one technician remarked. This mindset of continuous improvement applies to soldering as well. By learning from past errors and adopting best practices, individuals can elevate their soldering skills and achieve professional results.
By avoiding common pitfalls and incorporating these pro tips, anyone can enhance their soldering technique. Whether working on a hobby project or a professional assembly, these strategies ensure durable and high-quality connections.
Soldering dual in-line packages is a skill that evolves with consistent practice and dedication. Beginners should start with simple exercises, such as soldering basic components or prototyping boards, to build confidence. Applying the steps and tips outlined in this guide ensures steady progress and reliable results. For further improvement, explore resources like instructional videos or advanced soldering techniques.
"Proficiency in soldering techniques is crucial for maintaining quality and integrity in electronic systems."
Patience and persistence remain key. With time, anyone can master this essential craft and achieve professional-grade outcomes.
See Also
Easily Connect With EVE Energy At Smart Device Hub
Exploring Zhongkai's Ten Billion Investment In Display Technology
Discover The 12 Leading Eco-Friendly Battery Manufacturers
Zhongkai High-Tech Zone: Center For Smart Device Innovations
Introducing Huizhou Zhongkai's New Electronic Cloud Platform

Zhongkai High tech Zone National foreign trade transformation and Upgradi Base(Electronic Information)Cloud Platform.
Address: Zhongkai High-tech Zone,Huizhou City ,Guangdong,China
E-mail: huizhoueii@163.com 13510001271@163.com
Tel: +86-0752-3279220 Mobile: +86-13510001271
